Although some users have tried to use new browser windows to try to group their tabs while they work, it is never really effective, as you will need to jump from one window to the other – which is also not a cool experience. To help users manage their tabs effectively, Microsoft introduced the tab groups feature on the Edge browser. With this feature, you can easily arrange your tabs into different groups so you can easily filter out the tabs you need at any time. Related Article: 5 Things to Love About Microsoft Edge Browser
How to Use Tab Groups in Microsoft Edge
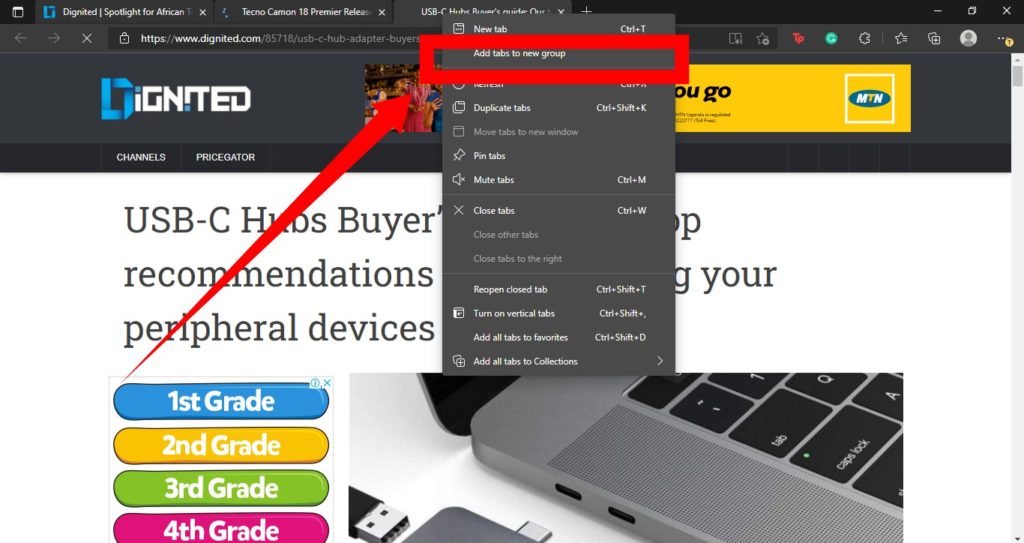
To group your tabs on Microsoft Edge, open the browser, then hold down the Ctrl or Shift key on your keyborad and click on all the tabs you want to group together.Once you’re done selecting the tabs you intend to group, right click and select Add tabs to new group.
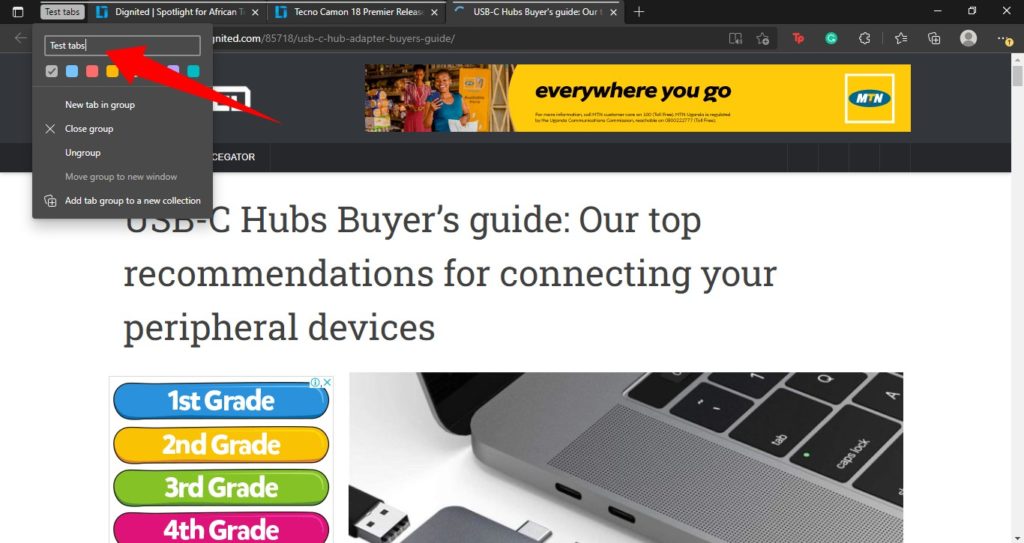
You will then need to provide a name for your tab. Hit enter once you do that.You can also choose different colors for your grouped tabs. This will help you easily help you identify them when you need them.
Related Article: Enable Google Chrome Extension on Microsoft Edge In conclusion, you can, at any time, add a new tab to an existing group. All you need to do is, right-click on the tab you want to add to a group and then hover your cursor on Add tab to group, and then select the group you want to add it to. You can also, easily ungroup any group, at any time. Just right-click on the group and then select Ungroup. Or tap on Close group to delete the group and all the tabs in it.