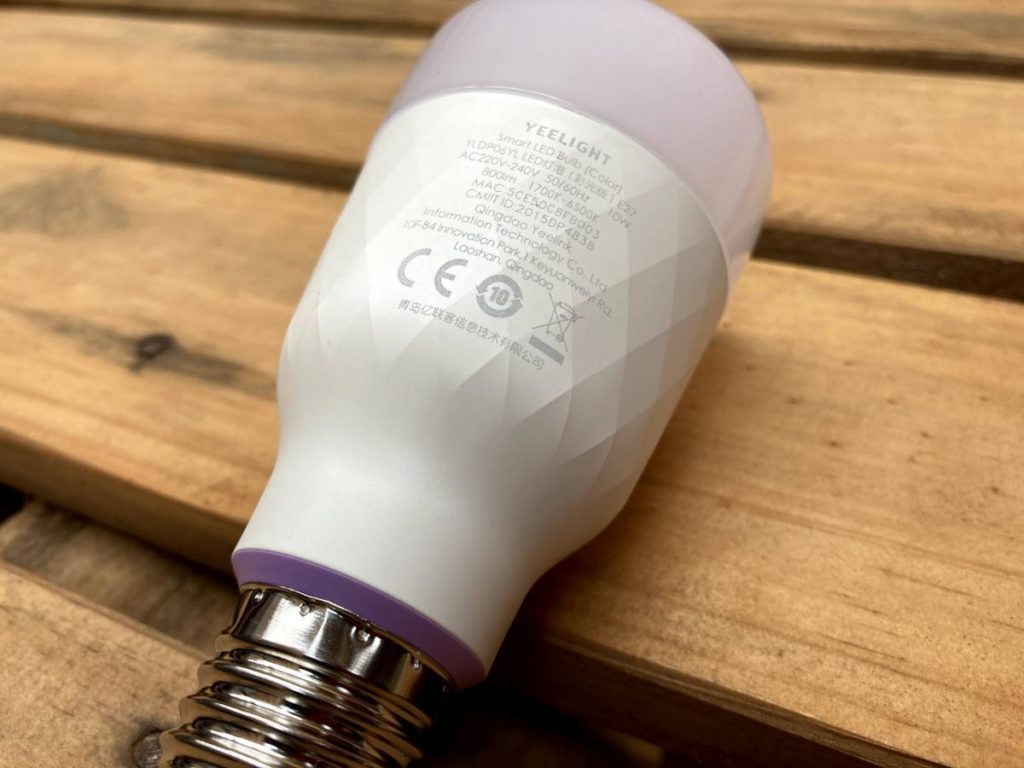
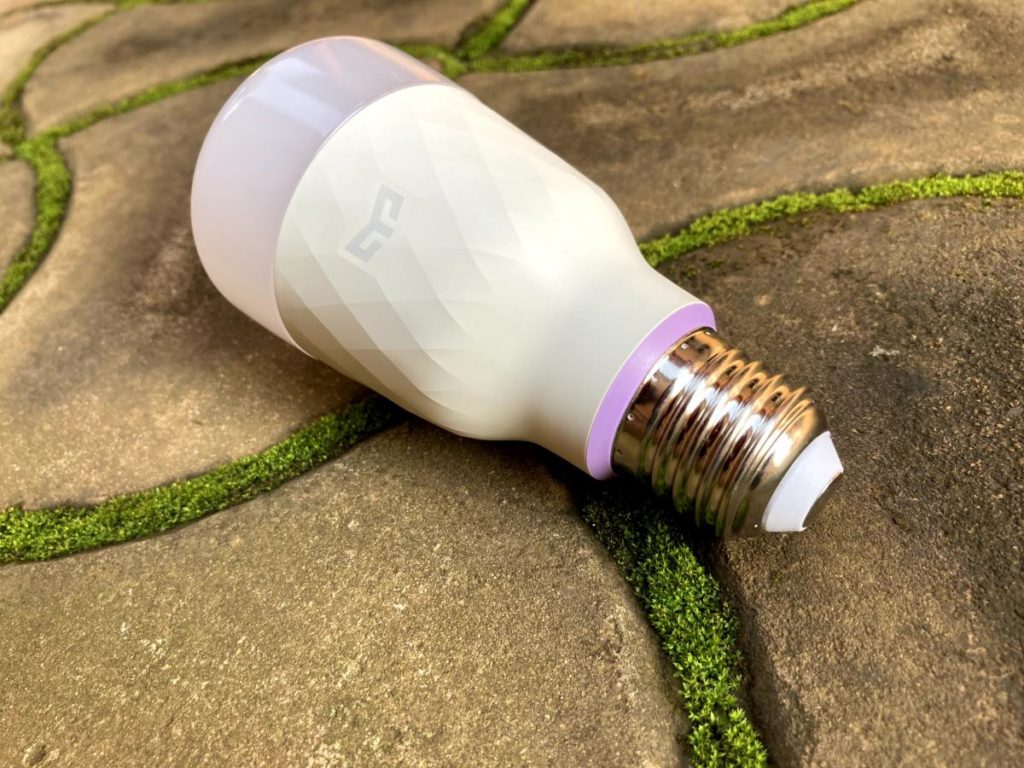
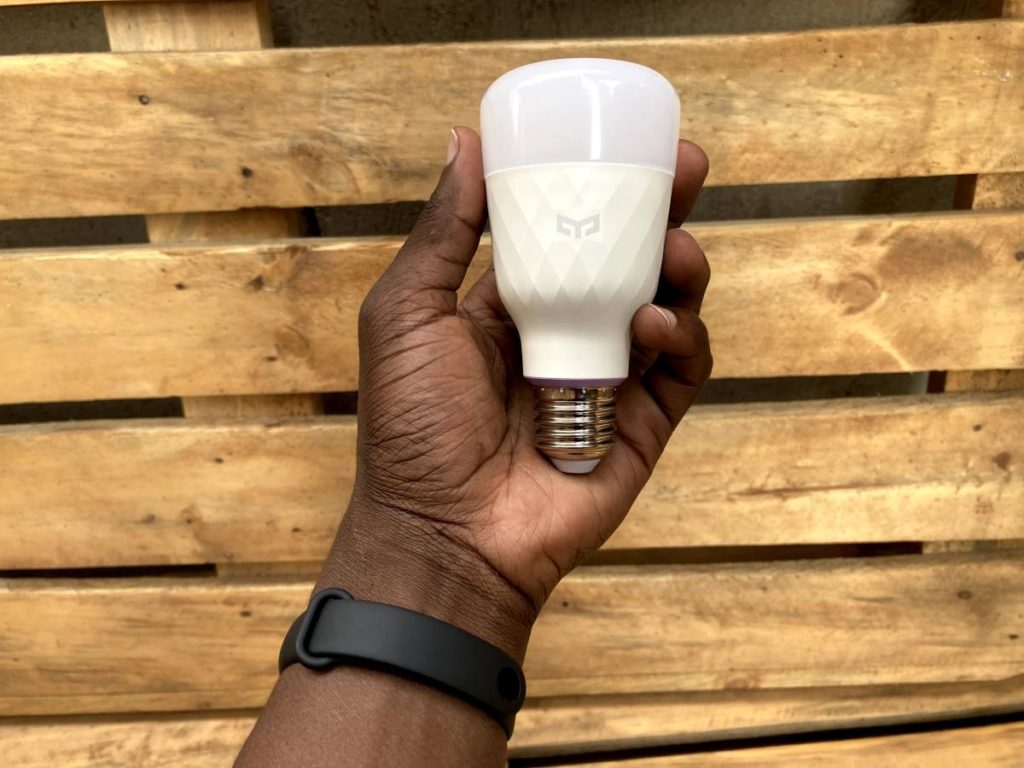
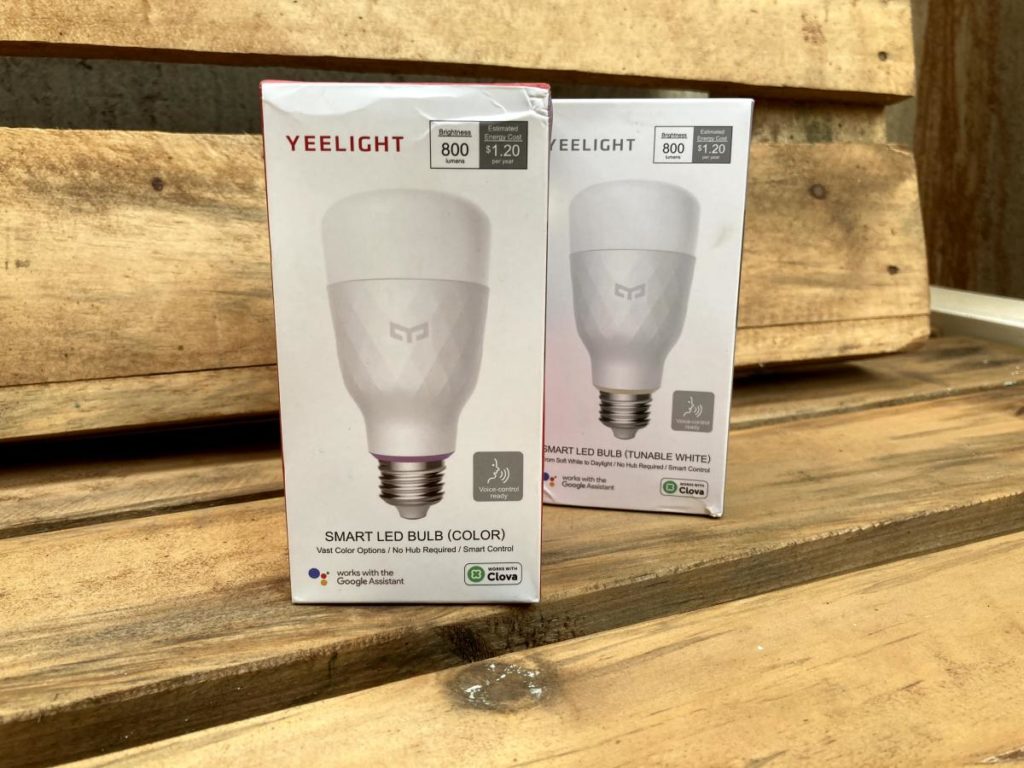
With wirelessly-controlled smart lights, the future is indeed bright. Xiaomi’s Yeelights also known as Mi LED Smart Bulb is a safe landing ground for Smart bulb newbies who wish to test the waters without committing much. That’s because a Central Hub/Gateway/Bridge is not required. I have been playing with Xiaomi’s Yeelight bulb or Mi LED Smart bulb for a while now. Yeelight is a sub-brand of Xiaomi and it’s mostly popular in Asia, China, and India. The Mi Smart Bulb brand is exactly the same product, but targeted towards the European and generally global market. So, don’t be confused by these seemingly different products. Users from the U.S will be more familiar with the incredibly popular Philips Hue Smart Bulb, LIFX Smart Bulbs, or TP-Link’s Kasa Smart LED bulbs. They are all very great recommendations for anyone willing to fully invest in a smart bulb home system. Xiaomi’s Yeelight or Mi Bulb are equally capable and support Google Assistant, and more recently Apple’s Homekit home automation platforms. So I bought the Yeelight Smart LED Bulb (Color version) from Aliexpress for $17. However, this bulb has recently dropped in price. You can get it for just $9 on amazon. Summarily, here’s what I liked and didn’t like;
Yeelight Smart Bulb Review
What We Liked
No hub/gateway is required.Vast number of color options.Schedules.Integrates with several platforms including Google Assistant as well as Clova.Affordable price point.
What We Didn’t Like
No Siri or Apple HomeKit support.No Bluetooth support.Prone to interference from other WiFi and Bluetooth devices.
Yeelight Smart LED Bulb (Color) Full Specifications
Model: YLDP05YL/YLDP06YLLuminous Flux: 800lmRated Power: 10WRated Input: 220V-240V ~ 50/60Hz 0.05A (European region)Color Temperature: 1700K-6500KConnectivity: WiFi IEEE 802.11 b/b/n 2.4GhzLife Expectancy: ~ 25,000 hoursSize: 60x60x124mm
What’s Great About This Bulb?
Feature Summary
Adjustable brightnessAdjustable color temperatureDifferent lighting scenesEnergy savingNight LightOn/Off timerOff-Delay timerSmart controlFirmware upgrades
Installation
Installing the Yeelight Smart Bulb is as easy as installing any other bulb. Simply screw it to the lamp holder. Before you do that, however, make sure the power switch is off. Xiaomi recommends that you do not use this bulb with a dimmer switch to avoid damage to your smart bulb. That’s it. You can now use it like a regular bulb. But of course, you want to take advantage of the smart features you get from a smart bulb. To do that you’ll have to set it up with either the Yeelight app or Mi Home App which are both available from Apple’s App Store or Google Play Store.
No Hub Required
Most smart home devices will need a Central Hub or Gateway to function. This Smarthome Hub works the same way your WiFi router connects all your devices to the internet. Usually, for Xiaomi ecosystem of devices, the Aqara (global) or MiJia (China) Hub is what connects devices together and controls them via the Mi Home App. However, the Yeelights Smart bulb doesn’t need one — although they can be controlled by the Aqara/Mijia Hub. When integrated with the Hub and other sensors such as Body sensor or Door/Window sensor, then you can create automation “Scenes” where lights go on or off when doors or windows open/closes for instance, or even when someone works into the room. Without the Hub however, you control the Yeelights from the Yeelight App or Mi Home App. You can schedule them to turn on/off, change color or brightness.
Setup the Bulb with Yeelight App
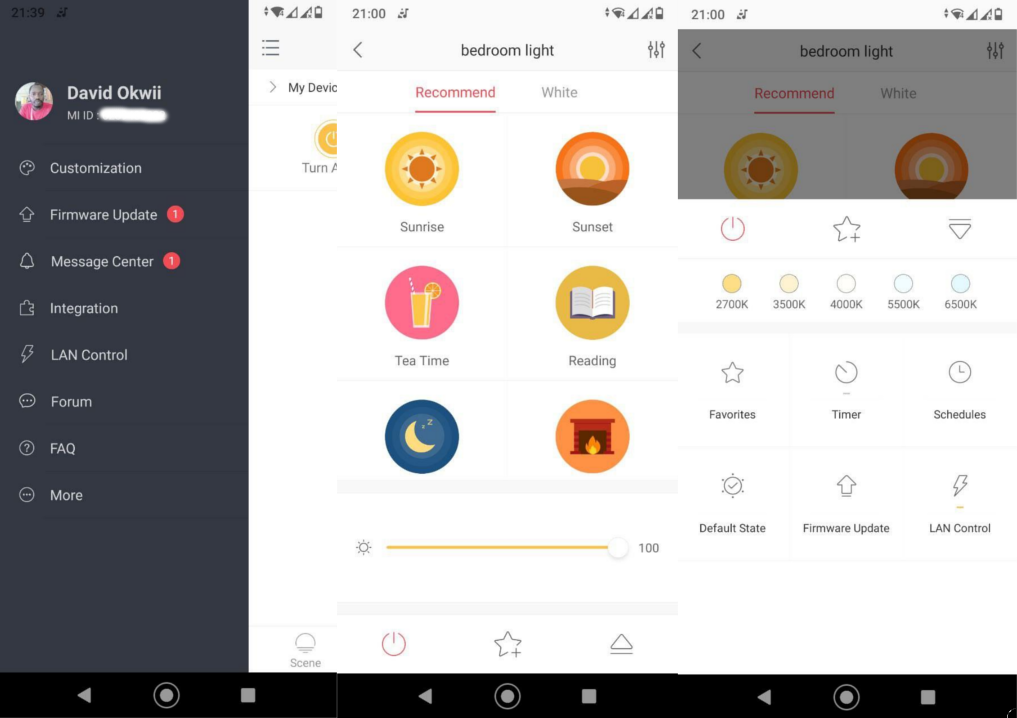
To set up this bulb with the Yeelight app, make sure you have a WiFi network connected to the internet. I presume your WiFi network is from a router. Make sure the router supports WiFi IEEE 802.11 b/b/n 2.4Ghz or WiFi 4 for simplicity. It’s very likely that your existing router or if you’re using a smartphone hotspot already supports this standard. From the Yeelight app, tap on the plus sign on the top right corner » Add device » LED bulb (color) » Reset the device (switch the bulb on and off 5 times in a row — 2 seconds on and 2 seconds off until the bulb starts flashing). Afterward, the Yeelight app will start scanning for available lights. Select the device to add » select WiFi 2.4Ghz network to connect to. If all goes well, your bulb should now be added to the Yeelight app. You can then proceed to name the bulb. The first thing I usually do is update the firmware to the latest version to take advantage of the latest features. With the Yeelight, you can turn on/off the lights, create scenes, set a timer, create schedules and share light with family and friends.
Set up with Mi Home App
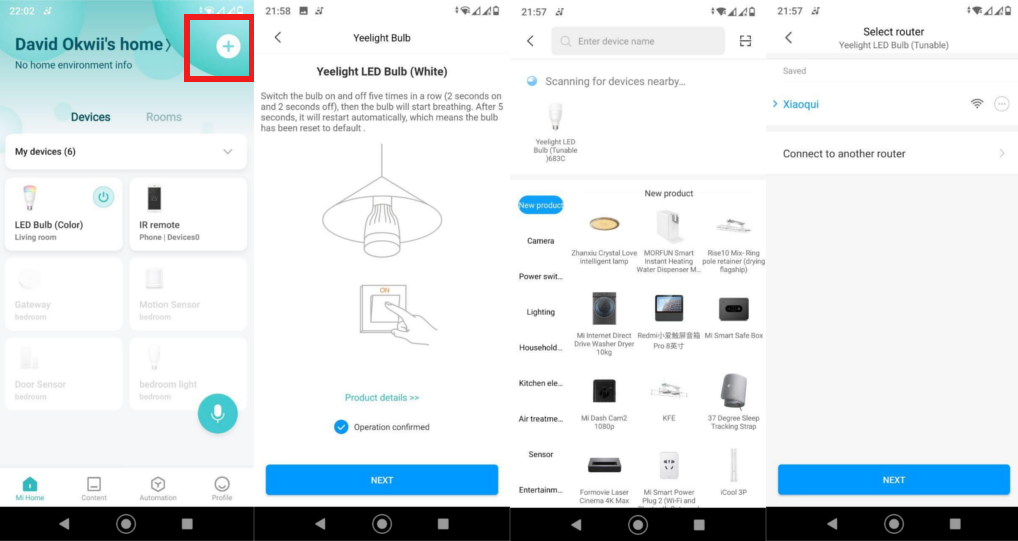
Setting the Yeelight bulb with the Mi Home App follows almost the same flow as the Yeelight. Start by resetting the bulb as described above. Then tap on the plus sign on the top right corner. Mi Home app will start scanning for available devices. Your Yeelight should be able to show up on the radar. If it doesn’t, then reset it first. When the Yeelight shows up, select it, and connect it to your 2.4Ghz home WiFi. If the connection is successful, then you should name the device and assign it to a specific room. And you’re done.
Setup with Google Assistant
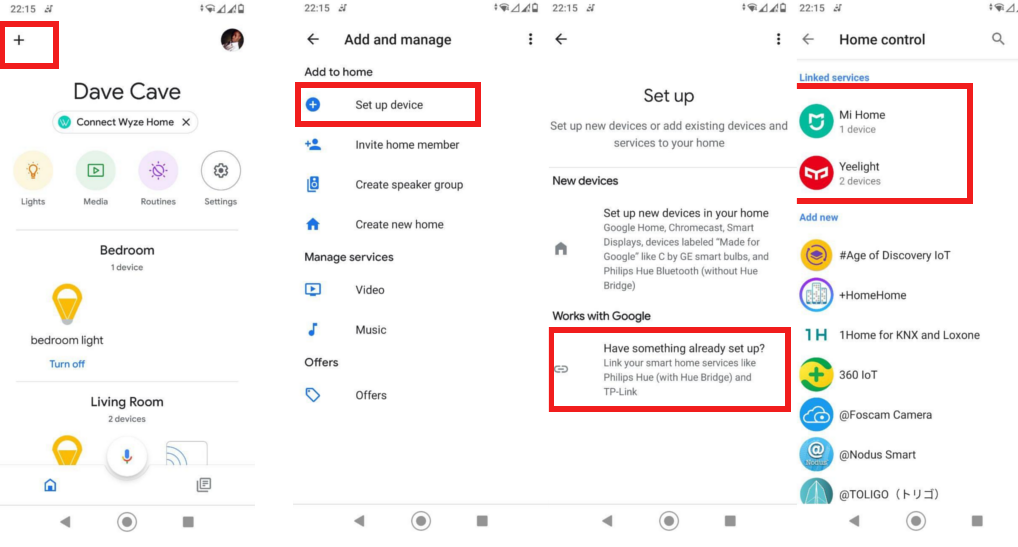
If you don’t use Google Voice assistant at all, here’s a good reason to activate it on your phone. When the Yeelight smart bulb is integrated with Google Assistant, you can control the lights via voice commands. Google Assistant supports various control actions for smart bulbs including turning on/off, dimming or brightening the lights, and changing the light’s temperature and color. When you integrate the Yeelight smart bulb with Google assistant, you can take advantage of this convenience. Setting up the Yeelight Smart LED Bulb is easier to do when you’ve already added it to the Yeelight app or Mi Home App. Add the device by tapping on the plus icon on the top left corner » Setup device » Works with Google » Choose Mi Home or Yeelight depending on which app you downloaded and set up the Yeelights with » Connect the Mi Home or Yeelight account with Google Home Account.
Resetting the Yeelight Smart LED Bulb
You’ll need to factory reset the Yeelight when you want to set it up with a different platform/app. To do that, use the light switch to turn the light bulb on and off five times (on for two seconds, off for two seconds). For the light bulb (tunable white version), it will be in breathing mode. After 5 seconds, the bulb will automatically reset itself. For this light bulb (color version), it’ll display a circling multi-colored effect, then automatically reset itself and display a white light after 5 seconds. This indicates the bulb has been restored to its factory settings.
Where to Buy the Yeelight Bulb (or Mi LED Smart Bulb)
